
Upload files
The upload surface in Ronja is the conversation: you drop a file into a chat with Ronja and tell it what to do with it.
Upload a file
Section titled “Upload a file”- Click New Exploration in the sidebar (or open any existing exploration).
- Drag the file onto the chat — or click the + attach button and choose File. Images can also be pasted straight from the clipboard.
- Type what you want Ronja to do with the file — “import this”, “summarize this report” — and press Enter.
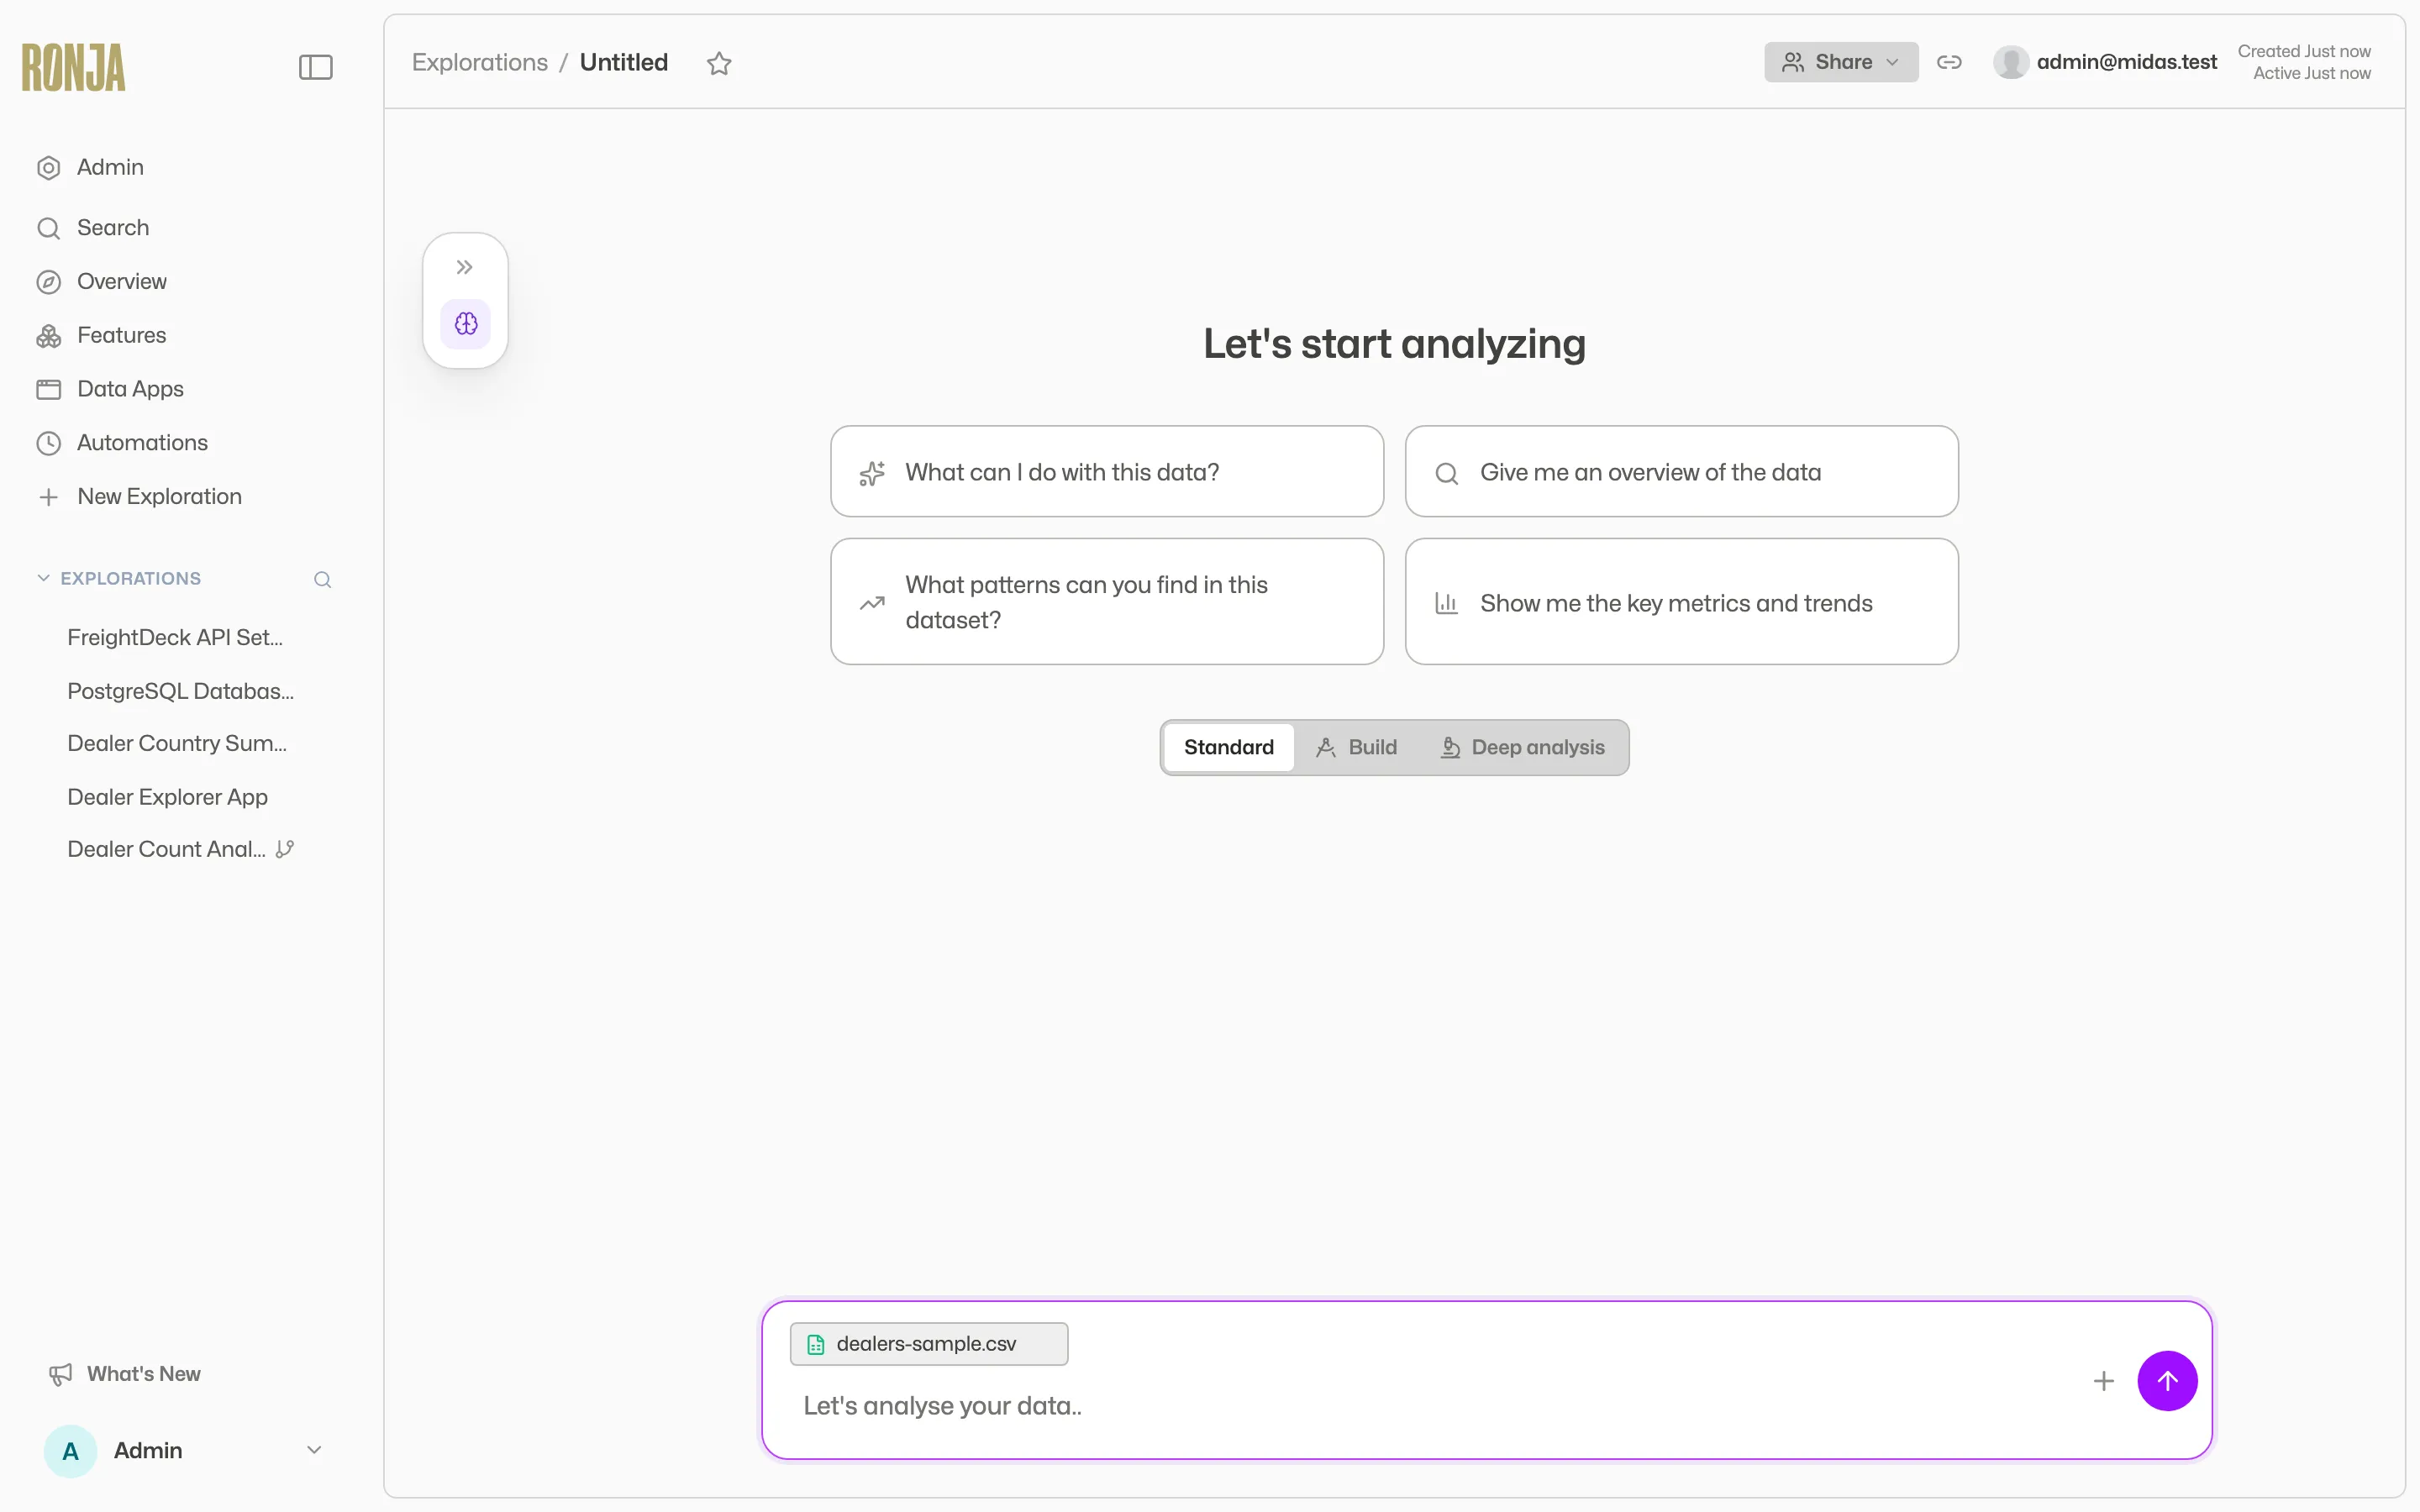 An attached data file waiting in the composer.
From file to table
Section titled “From file to table”Data files — CSV, Excel, Parquet — become tables:
- Send the file with an instruction like “import this as a table”.
- Wait for Ronja to import it into a table — inside a feature if you tell her which one, otherwise as a session table only this conversation can see. Tables created from uploads carry the Dynamic kind.
- If it landed in a feature, open the feature’s hub and find the new table in the Tables section; open it to preview the data.
Supported formats and size caps
Section titled “Supported formats and size caps”| Type | Formats | Cap |
|---|---|---|
| Data files (become tables) | .csv, .tsv, .xlsx, .parquet — plus CAD: .step, .stp, .dxf |
No fixed cap in the uploader |
| Images | PNG, JPEG, GIF, WebP | 20 MB |
| Documents | PDF, DOCX, PPTX, DOC, PPT | 100 MB |
| Text & code | Markdown, TXT, HTML, JSON, YAML, SQL, Python, and most other text formats | 5 MB |
| Archives | .zip |
Unpacked automatically when small — see below |
Files over their cap are rejected on the spot with a message such as “Image {name} exceeds 20 MB limit”.
Excel files need to be in the current Excel Workbook format (.xlsx). Ronja can’t open an older Excel 97–2003 workbook (.xls), or a workbook that needs a password to open or carries a sensitivity label. She tells you which it is: open the file in Excel, save it as an unprotected Excel Workbook (.xlsx), and attach the new file. Sheet protection is fine — a workbook that only stops edits opens normally.
Some systems’ “Export to Excel” writes a file that isn’t really an Excel workbook. If it is really a CSV file, Ronja reads and imports it as the CSV it is, whatever its name says. If it is really a web page, she can read it but not turn it into a table — open it in Excel and save it as an Excel Workbook (.xlsx) or CSV first.
PDF documents have their text extracted page by page at upload, so Ronja can read and quote them in the conversation.
An uploaded HTML page is kept as a page: Open in new tab renders it rather than downloading it, and its download control becomes a Download as menu offering PDF, Word (.docx) or Original (HTML) — see Downloading.
Zip archives
Section titled “Zip archives”Attach a .zip and Ronja unpacks it for you. Ronja can then read and import each file inside as if you had attached it separately — a zip of CSVs imports like twelve separate CSVs, a zip of scanned invoices reads like twelve separate PDFs — and the unpacked files land in Files alongside the archive itself, which is kept too. The same happens to a zip emailed to an automation.
Unpacking happens automatically while the archive is small: up to 25 files, 150 MB of contents, and at most 10 images. Packaging entries — folders, __MACOSX, .DS_Store, empty files — don’t count.
Above any of those, nothing is unpacked. Ronja reads the archive’s contents list instead — names, sizes, and file types — tells you what’s in it, and unpacks on request. Say “unpack all of them” for the whole archive, or name the ones you want. Ronja never unpacks part of an archive on its own: entries sit in a zip in whatever order they were added, so a handful of them is an arbitrary handful, and a total computed over 10 of your 40 invoices would look exactly like the right answer. When an unpack does come back short, the step in Ronja’s working log says so — “12 of 40 extracted” — rather than reporting the twelve as if they were everything.
A zip with more than 10,000 members is too large to list at all. Ronja says so and asks for the specific files you need, or for a smaller archive.
A few things stay closed:
- Password-protected archives are listed but can’t be opened. Ronja says so and asks for the password, or for the files unencrypted. A single protected file inside an otherwise readable archive is named as protected, not silently dropped.
- Files over their type’s cap in the table above are named but not attached — one 200 MB PDF inside a zip doesn’t fail the rest.
- A zip inside a zip isn’t unpacked. It arrives as a file; attach it on its own if you need what’s in it.
Looking for the files a workflow produced, rather than files you uploaded? Those live on the feature hub’s File outputs tab — see Features.