
Write notes
A note is a document that lives inside a feature and teaches Ronja. There are two kinds:
- Skill notes teach Ronja a task — a runnable procedure, like how you build the weekly revenue report.
- Knowledge notes record reference information about that feature’s data — how a table behaves, how a metric is actually calculated, data caveats.
There is no “New note” button anywhere in Ronja — like most resources, notes are agent-authored: you describe what to save, and Ronja writes the note. (For how notes fit with the other learning surfaces, see How Ronja learns.) A note holds knowledge — what something means, how it is done. A standing rule about how Ronja should work belongs in a policy instead, where a single line can point at the note.
Save a note
Section titled “Save a note”- Open an exploration in the feature the note belongs to.
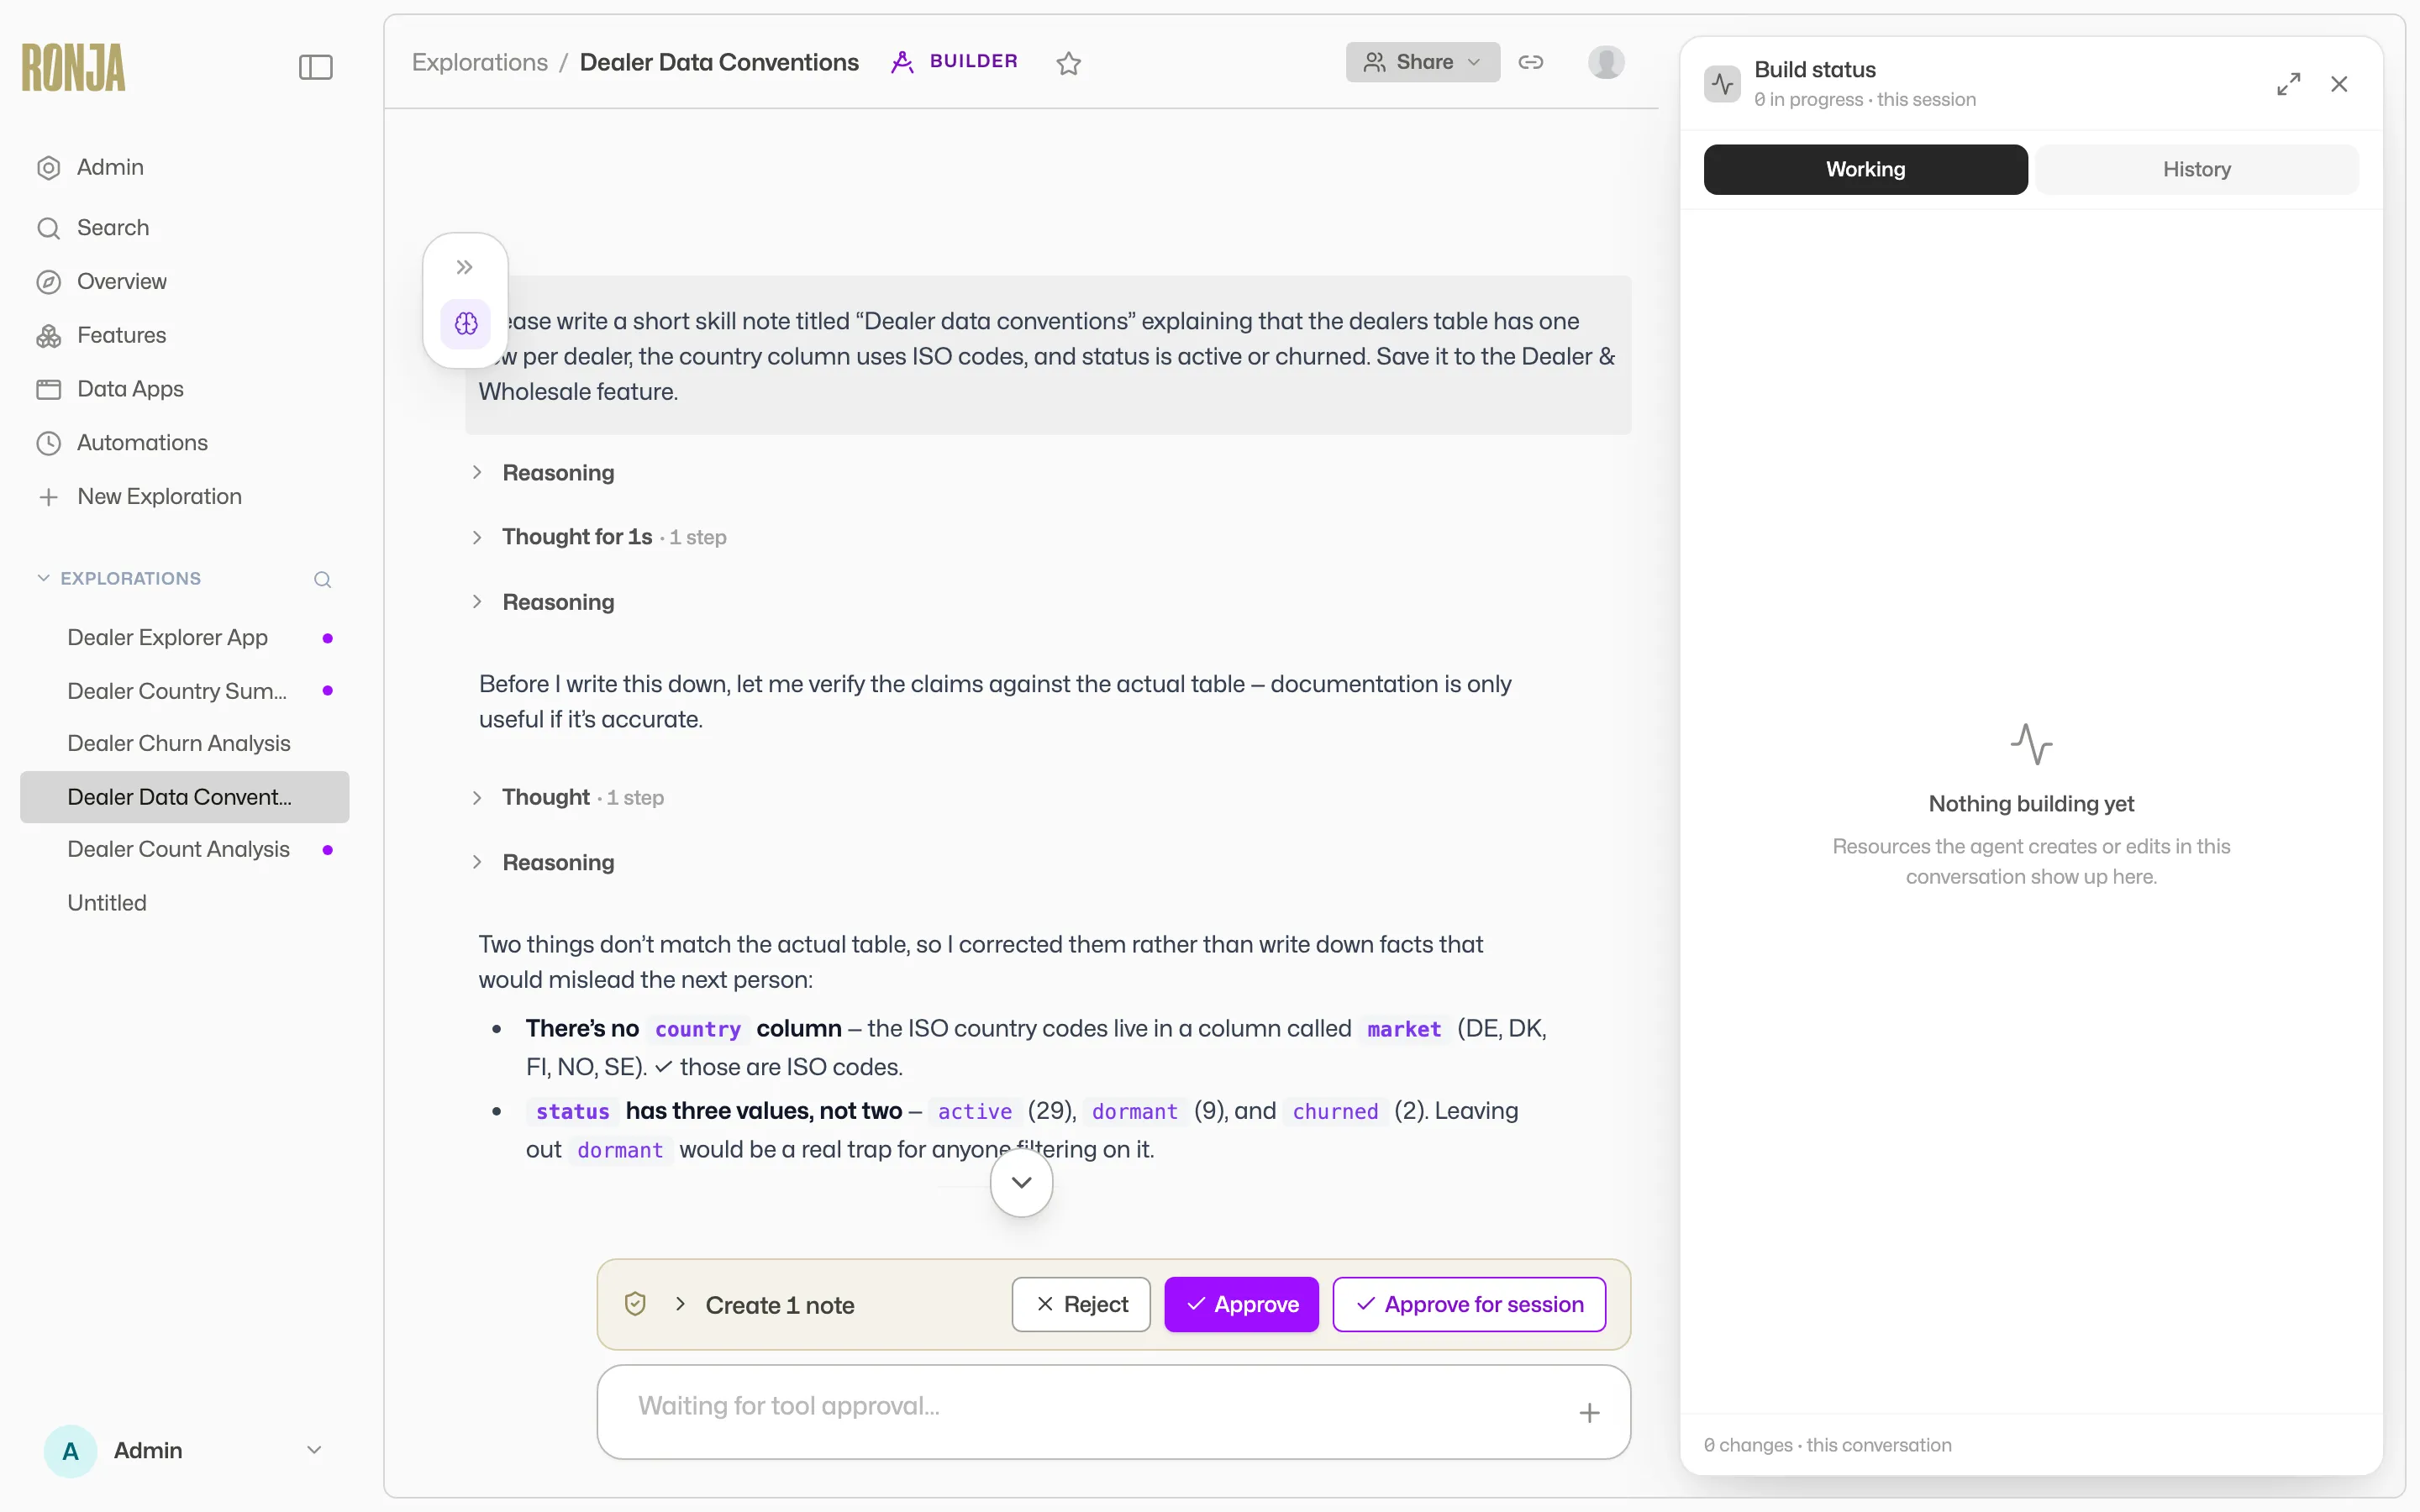
- Ask Ronja to write it down — for example: “Save how we build the weekly revenue report as a skill.”
- Wait for Ronja to create the note and open it beside the chat, marked with a violet NOTE badge.
 Ronja opens the new note in a side panel so you can review it without leaving the conversation.
- Read the note in the side panel. To refine a passage, highlight the text and click Add to chat, then tell Ronja what to change.
- Click Open note in new tab to see the full note page — the body sits under Instructions for skill notes or Content for knowledge notes, with version history in the sidebar. Archive (or Unarchive) appears in the header for the people who may use it: the note’s owner in a private feature, an Admin, or a maintainer of the feature. Admins also have Rebind secret in the sidebar’s Actions section.
Ronja picks the kind (skill or knowledge) from what you’re saving, and writes the note’s description as a retrieval hint — a short “when should I load this?” line. In future conversations in this feature, Ronja checks these hints and loads the full note before starting related work. You’ll find your notes later in the feature page’s Skills and Knowledge lanes.
Styled (HTML) notes
Section titled “Styled (HTML) notes”Most notes are plain text with headings, lists and tables — that is the right shape for something Ronja reads back. When the note is for people and the layout carries the meaning, ask for a styled one instead: “Write this up as an HTML note.”
Good candidates: a review one-pager with figures across the top, a status report, a reference table someone scans on a Monday morning. Ronja lays it out with cards, colour and spacing, in Ronja’s own styling.
A styled note behaves a little differently from a plain one:
- It renders in its own self-contained frame, both on the note page and in the side panel beside the chat.
- Highlighting text and clicking Add to chat does not work inside it. To change something, describe the change to Ronja instead.
- Links inside it open in a new tab.
Everything else is the same: same feature, same kinds, same drafts and review.
Scope: personal or shared
Section titled “Scope: personal or shared”A note follows its feature’s scope:
- In a private feature, the note carries a “Personal” chip and your changes go live immediately.
- In a shared feature (a “Shared” chip), changes are staged and reviewed — see below.
Drafts on shared notes
Section titled “Drafts on shared notes”Editing a shared note as a non-admin never touches the live version — the draft → submit → commit model is covered in full in Versions, drafts, and approvals. The note-specific steps:
- Ask Ronja for the change. Your edit becomes a personal draft — admins can’t see it yet.
- Ask Ronja to submit the draft when you’re happy with it. Its status flips to Review requested.
- Wait for an admin to review and commit or reject it from the Inbox. The note stays on its current version until the commit — if the note is open beside a chat in the meantime, its header shows “new version waiting for approval”.
Creating a brand-new note in a shared feature is staged the same way: it’s submitted for approval as a proposal. Admins skip the queue — their shared-note edits go live as soon as they approve Ronja’s action in the chat.